In reality, it’s closer to a short campaign with a clear strategy. The procedure is the centrepiece, but preparation and aftercare are what protect the investment – your grafts, your healing, and your eventual result.
If you’re booked in (or close to booking), this guide walks you through the practical steps that matter most: what to do in the weeks and days leading up to surgery, what the day itself typically feels like, and how to look after your scalp afterwards without second-guessing every twinge, scab, or shed.
Step 1: Choose a Clinic Like You’d Choose a Surgeon
Preparation starts with decision-making, not shampoo. Before anything else, you want confidence in who is doing the work and how they approach planning.
A reputable clinic will show clear before-and-after examples with consistent lighting, angles, and timelines – not just immediate “fresh graft” photos. They’ll explain which technique they use (often FUE or FUT), why it suits your hair and goals, and what limitations exist.
Good clinics don’t promise perfection; they talk in probabilities, density, donor management, and long-term planning.
Use the consultation to test transparency. Ask who performs each stage (extraction, incision sites, placement), how the grafts are handled while outside the body, and what your aftercare support looks like.
If you feel rushed or pressured into a deposit before you understand the plan, that’s a signal worth listening to.
Step 2: The Consultation Is Where the “Real” Surgery Begins
On paper, the consultation is a scalp assessment. In practice, it’s where expectations are set – and expectations drive satisfaction.
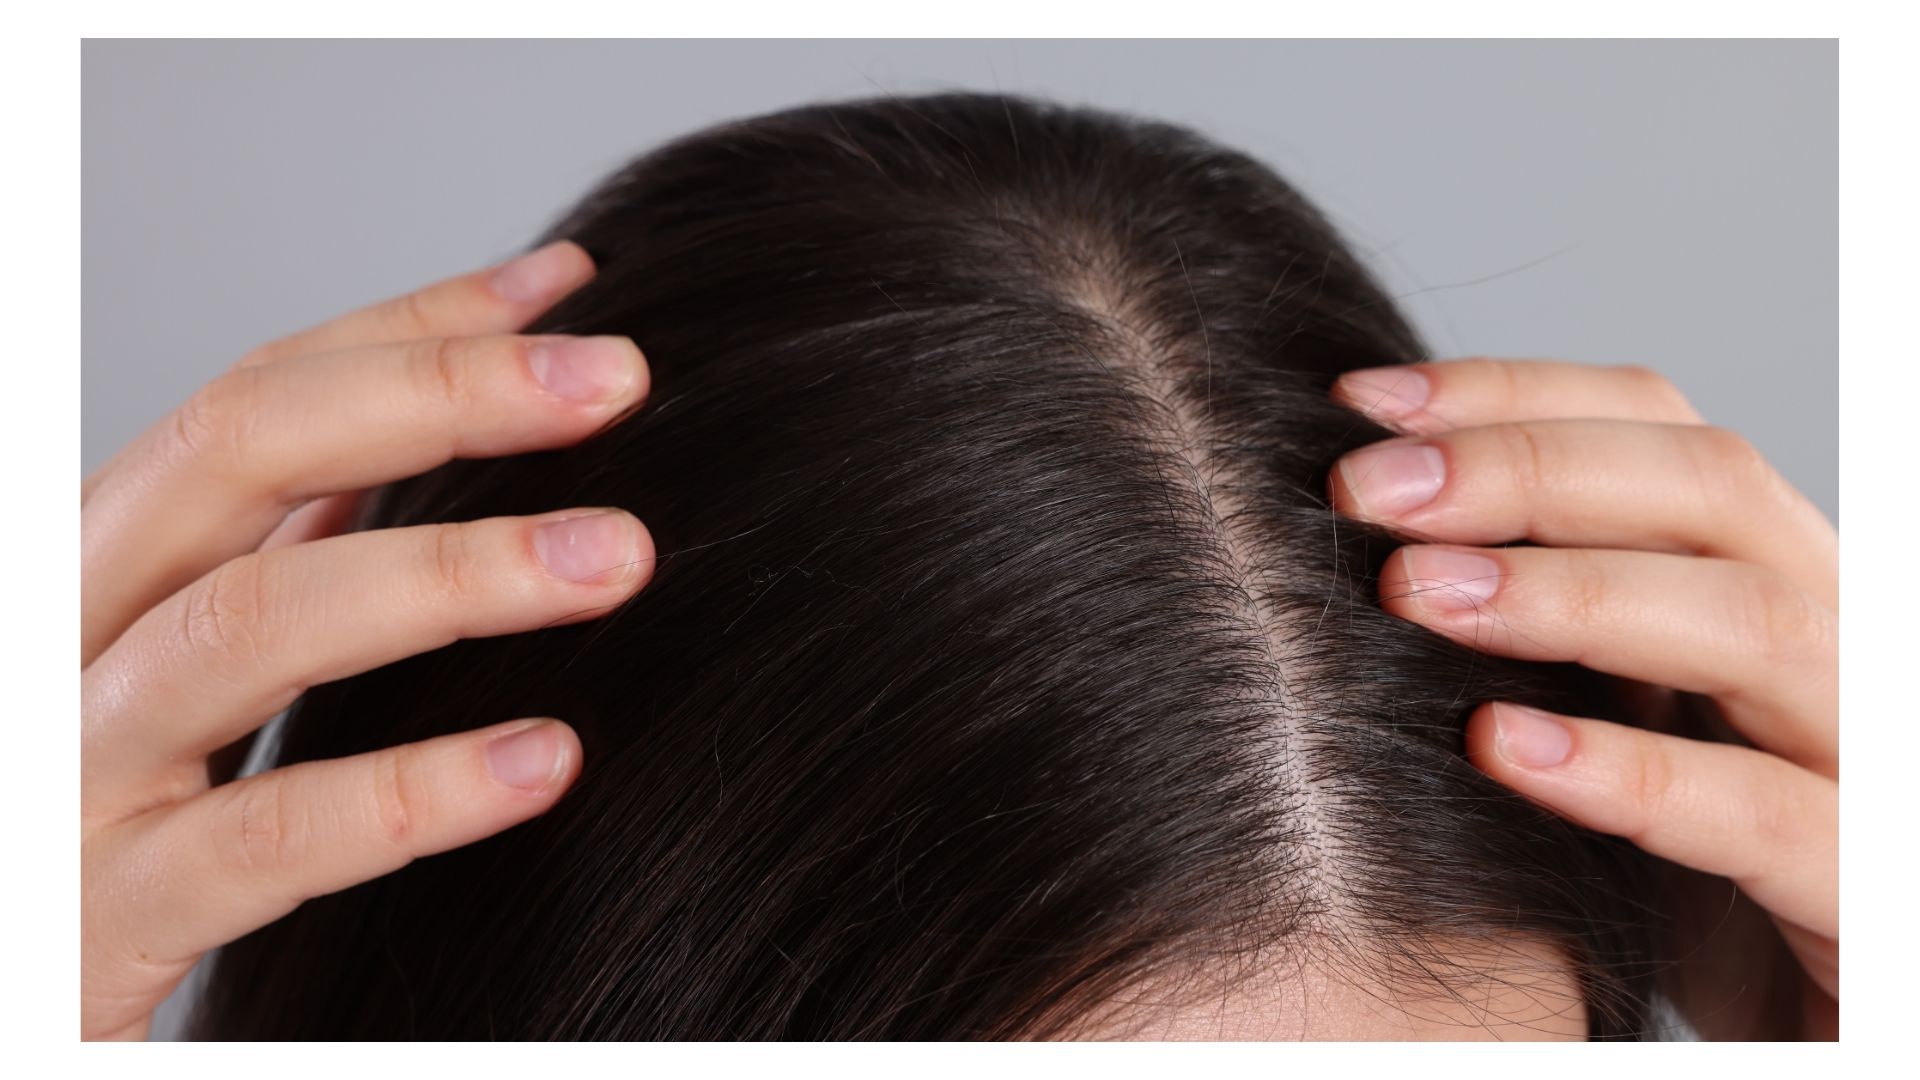
Your clinician will assess your donor area (usually the back and sides of the scalp), the pattern of thinning, hair calibre, curl, colour contrast, and your likely future hair loss. This matters because a transplant isn’t just about filling a gap today; it’s also about not exhausting donor supply in a way that causes problems later.
Be upfront about your medical history and lifestyle. Mention any medications, supplements, smoking habits, allergies, previous hair treatments, and any conditions that affect healing. This isn’t small talk – these details can shape what you’re advised to stop, continue, or adjust before surgery.
You should also leave the consultation with a clear pre-op checklist: what to avoid, what to wash with, what to bring, and what the first week will realistically look like.
Step 3: The Week Before Surgery
This is the “reduce risk, maximise healing” window. The aim is to arrive in the best possible condition for a procedure that relies on tiny grafts and a predictable recovery.
Most clinics advise pausing smoking and alcohol for at least a week beforehand. Both can affect blood flow and healing, which is not what you want when hundreds – or thousands – of grafts are depending on good circulation.
You may also be told to stop blood-thinning medications and certain supplements, because they can increase bleeding and make the process more difficult.
If you dye your hair, ask what their cut-off is. Some clinics prefer you avoid colouring close to the procedure, while others are fine if it’s done well in advance. Either way, don’t improvise with new products just before surgery – your scalp doesn’t need surprises.
Finally, plan your post-op schedule properly. If you can, clear your calendar for the first few days and avoid commitments that require you to look “camera ready”. Recovery is usually straightforward, but it’s rarely glamorous.
Step 4: The Night Before
Keep it simple. Wash your hair thoroughly as instructed, and skip styling products like gels, fibres, oils, or sprays. You want a clean scalp and hair that’s easy for the surgical team to work with.
Set up your recovery zone at home: extra pillows to sleep with your head elevated, button-up tops so you don’t pull clothing over your head, and easy meals so you’re not cooking while trying to avoid bumping your grafts.
Charge your phone, line up entertainment, and make peace with a quieter couple of days.
Step 5: Surgery Day, Decoded
The day often feels like a mix of excitement and nerves – and it helps to know what’s normal.
Wear loose, comfortable clothing, ideally a button-up shirt or zip-up top. Eat a light breakfast unless you’ve been told otherwise. Bring anything the clinic requested, and don’t arrive in a rush – stress and time pressure are a terrible pre-op combo.
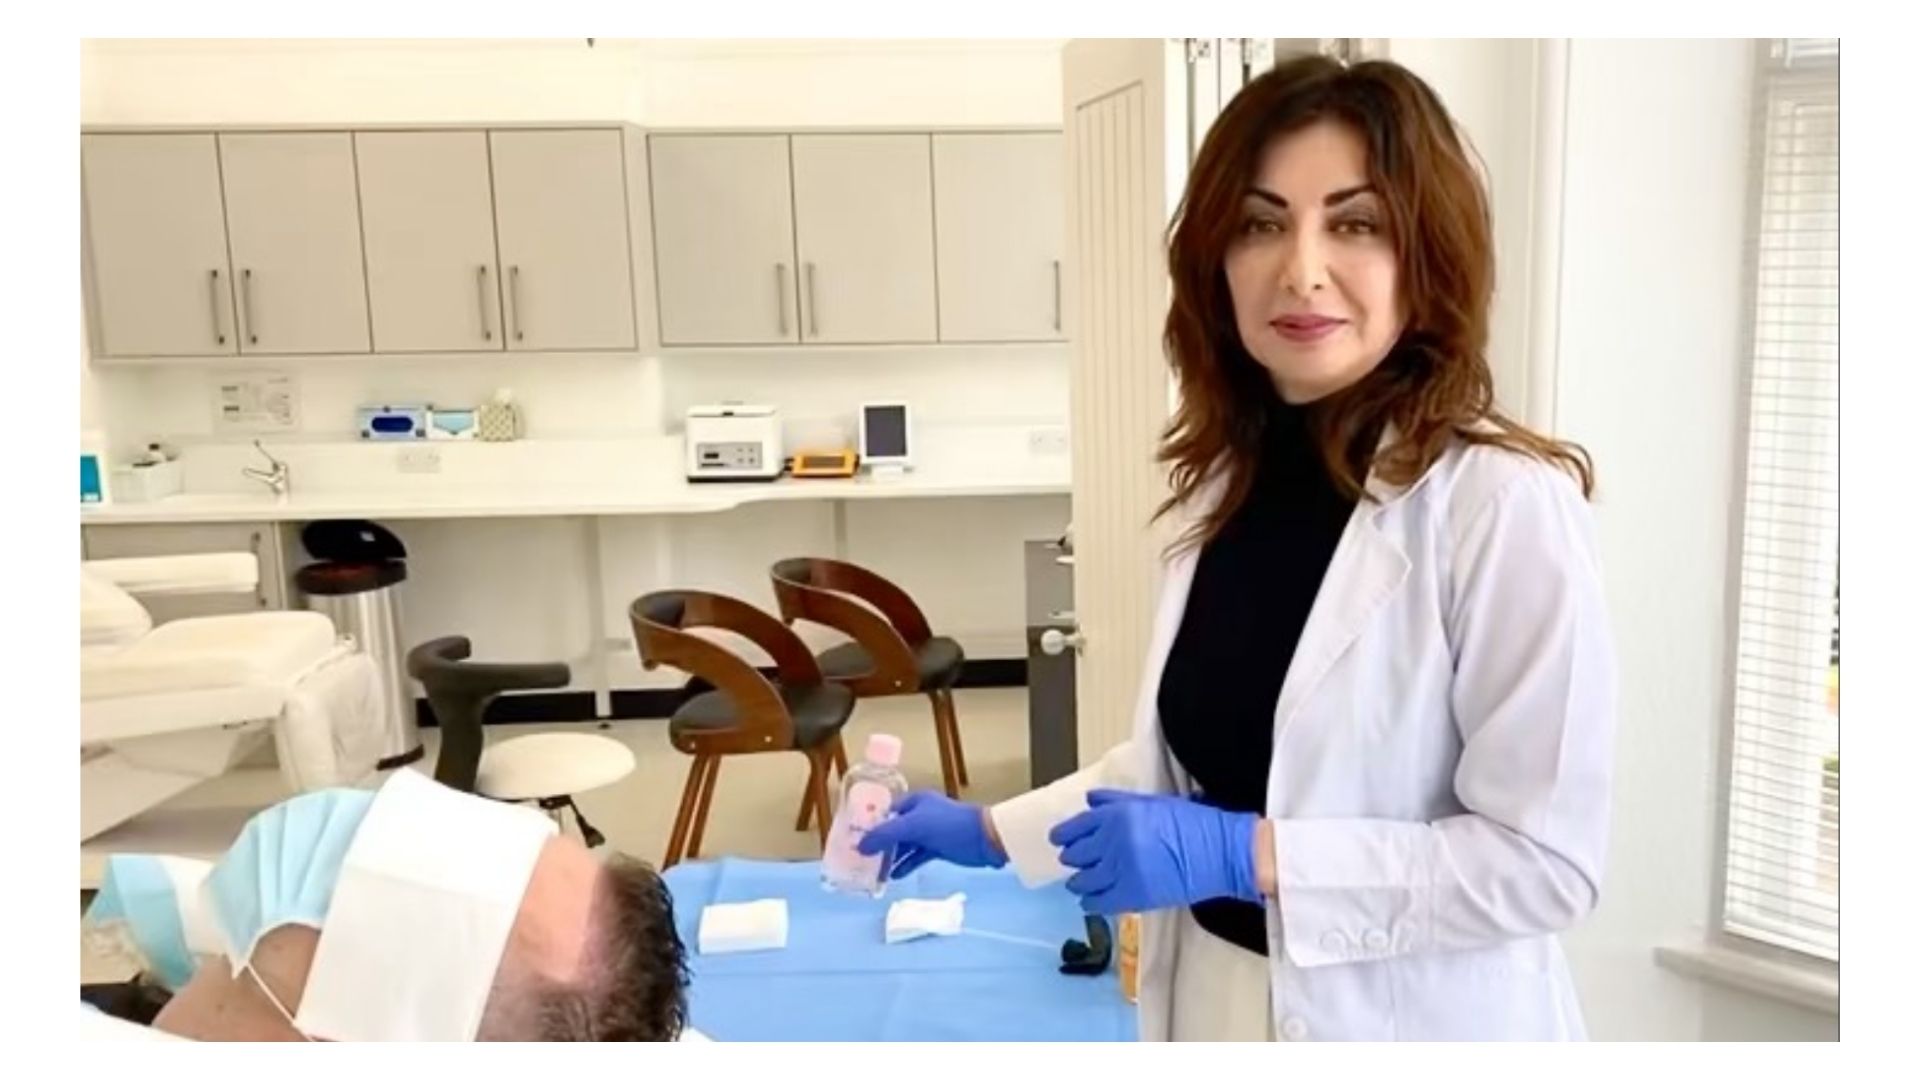
Most procedures are done under local anaesthetic. You’re awake, but the scalp is numb. Clinics commonly use one of two methods: FUE (Follicular Unit Extraction), where individual follicles are extracted from the donor area, or FUT (Follicular Unit Transplantation), where a strip is removed and then dissected into grafts.
Both aim to relocate healthy follicles to thinning areas; the difference is in how the donor hair is harvested and what scarring and recovery can look like.
Expect the procedure to take several hours – often somewhere between four and eight depending on graft numbers. There are usually breaks, and you may feel pressure, light tugging, or positioning discomfort more than pain. A good team will keep you informed without overwhelming you, and they’ll prioritise graft handling and placement precision over speed.
By the end, you’ll likely be bandaged (particularly at the donor area), given medications and aftercare instructions, and sent home with strict guidance that sounds fussy – because the first few days are when you protect the work.
Step 6: The First 48 Hours
This period is all about do not disturb.
Avoid touching, scratching, or washing the transplanted area unless instructed. It’s normal to see some swelling (often around the forehead) and feel tightness or soreness, especially in the donor region. Your clinic may prescribe antibiotics to reduce infection risk and pain relief to keep you comfortable.
Sleep with your head elevated to reduce swelling and minimise accidental rubbing. This is not the time for gym sessions, heavy lifting, or anything that raises blood pressure and sweating.
Your job is simple: protect the grafts, rest, and follow the plan.
Step 7: Washing, Sun, and Everyday Life
Washing is one of the most anxiety-inducing parts for patients, but it becomes routine quickly when you follow the method you’ve been given.
Typically, gentle rinsing starts after a couple of days, with careful dabbing rather than aggressive rubbing. The goal is to keep the area clean while letting scabs soften and fall away naturally over time.
Sun exposure is another underestimated factor. Freshly treated scalp skin is sensitive, and UV can irritate healing tissue. Avoid direct sunlight where possible, and if you must go out, wear something loose-fitting that doesn’t compress or scrape the grafts.
Also: be cautious with hats. A hat isn’t automatically “bad” – a tight hat is. If your clinic says a loose cap is acceptable after a certain point, follow their timing precisely.
Step 8: The Timeline Nobody Tells You Clearly Enough
Here’s the reality: the most dramatic part of the timeline is often the part that looks like nothing is happening.
Week 1: Redness, tenderness, and scabbing are common. You may look a bit “post-procedure”, and that’s normal. The donor area can feel sore, and sleeping comfortably can take a little patience.
Weeks 2–4: Many people experience shedding of the transplanted hairs. This is the classic “shock loss” phase and, while unsettling, it’s usually part of the normal cycle. The follicles remain; the visible hairs can drop before regrowth begins.
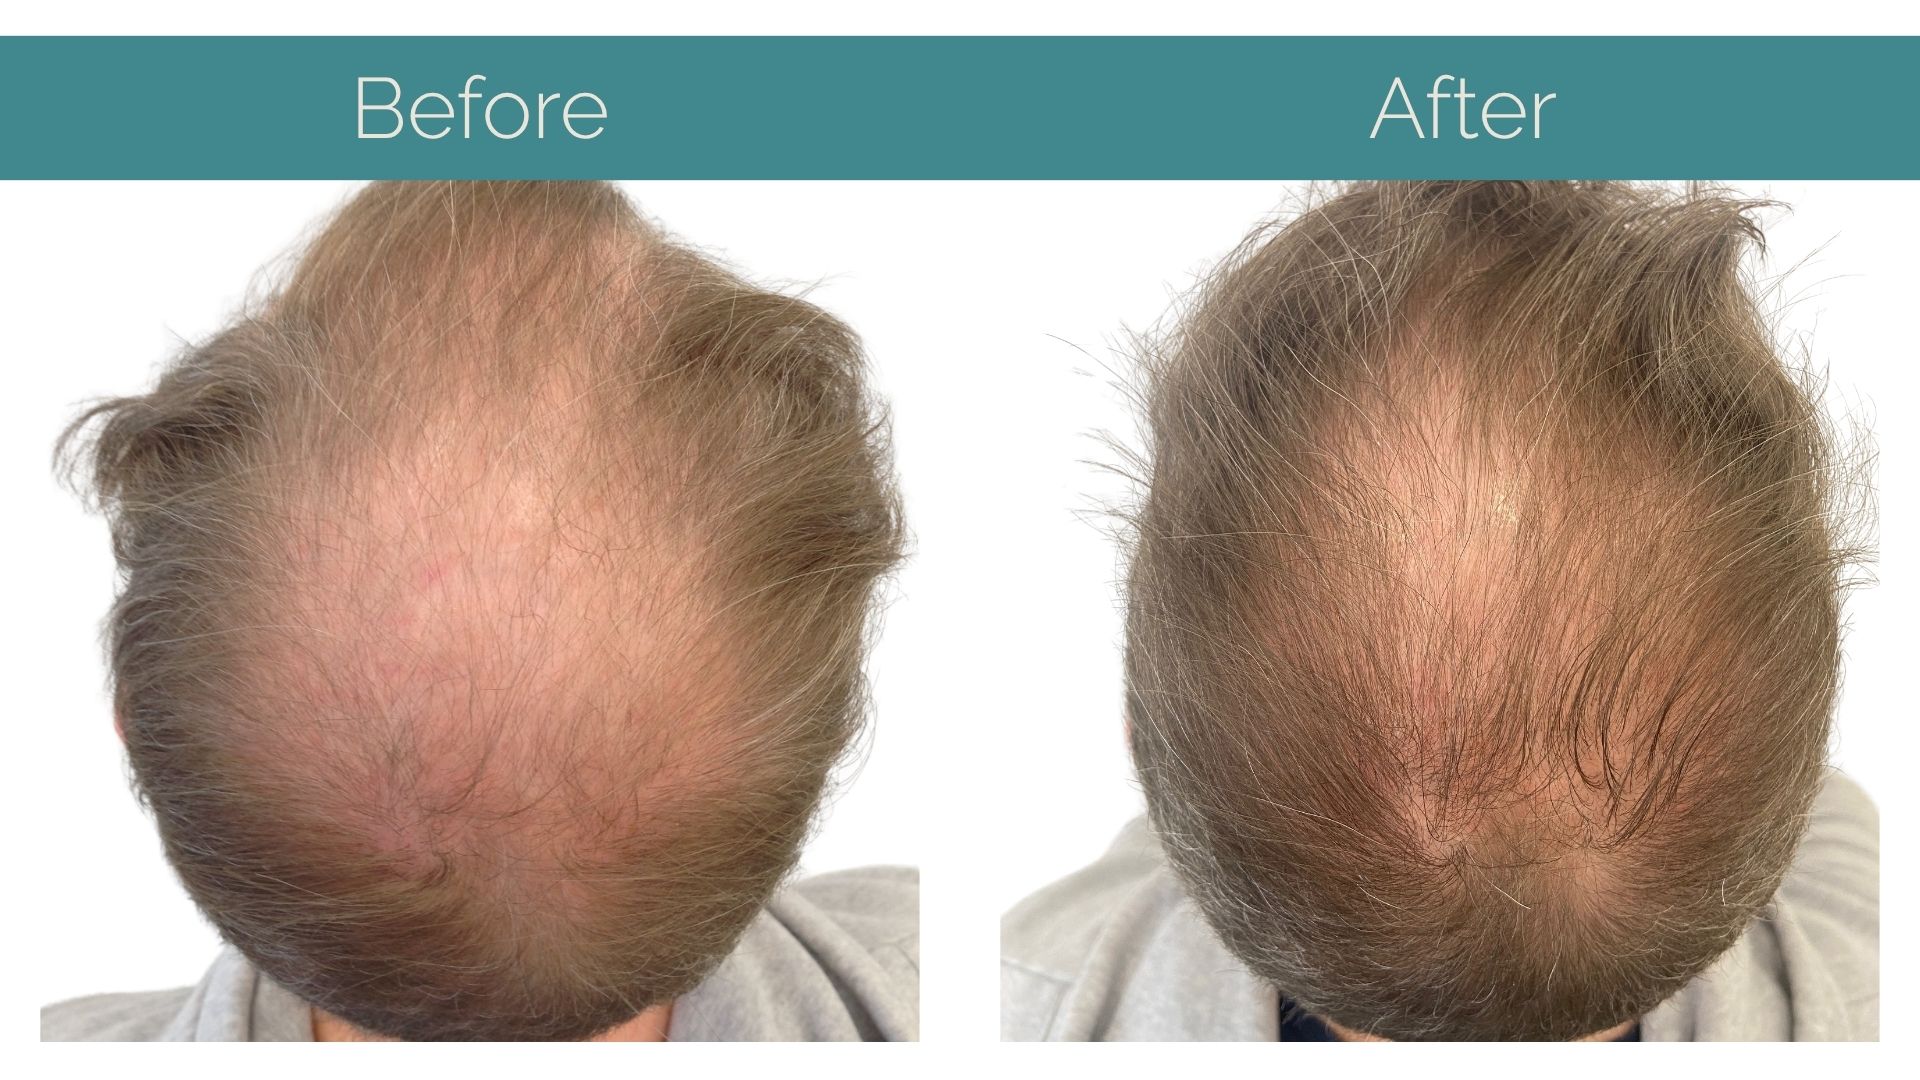
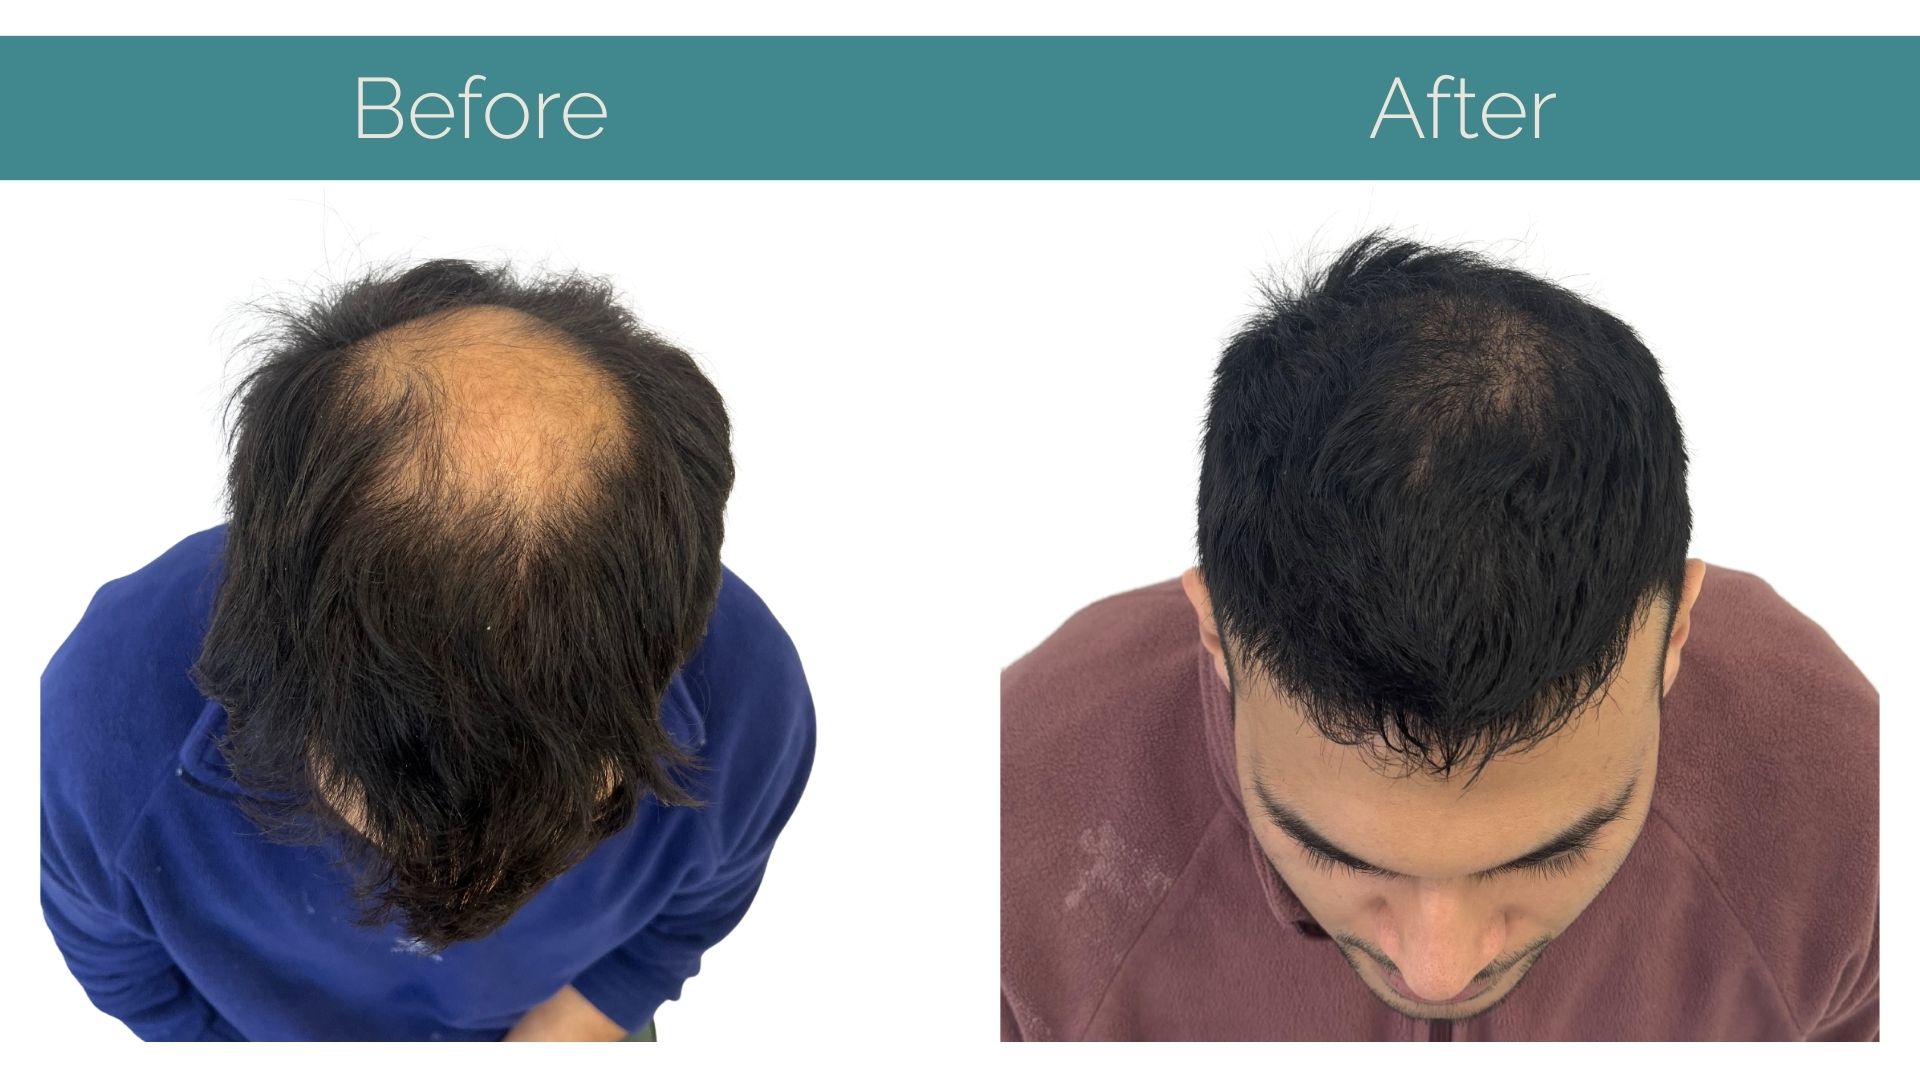
Months 3–6: This is where you’ll typically start noticing meaningful growth. Hair begins to come through, and texture can vary – some early growth may look finer or slightly wiry before it settles.
Month 12: Results are usually considered “final” around a year, with better blending and fuller maturity. Some people continue to see refinement beyond that, depending on individual growth cycles.
Step 9: The Habits That Protect Your Result
The best results tend to come from people who treat recovery like a process, not a one-time event.
Patience is the big one. The transplant doesn’t fail just because month two looks quiet. Healing and growth follow biology, not excitement. Support that biology with a healthy routine: proper sleep, hydration, and decent nutrition.
Avoid putting stress on the scalp in the early phase. That means no heavy exercise when you’ve been told to avoid it, no picking scabs, and no “just checking” the grafts in the mirror every hour.
Finally, take follow-up appointments seriously. These check-ins help your clinic track healing, answer questions, and spot issues early – often before they become a real problem.
Final Word: Treat It Like a Project Worth Doing Properly
A hair transplant can absolutely be a confidence-reset, but the quiet truth is this: the result isn’t only made in the operating chair. It’s built in the lead-up, protected in the first week, and revealed over months of steady recovery.
If you keep the plan simple – choose a trustworthy clinic, follow the pre-op checklist, protect your grafts like they’re fragile (because they are), and stay calm through the shedding phase – you give yourself the best odds of a natural, strong outcome.
And when the new hair finally starts to fill in, it won’t feel like a sudden miracle. It’ll feel like something you prepared for properly – and earned.
About IK Clinics
We don’t just specialise in FUE, we also offer other hair restoration treatments, such as Stem Cell Therapy and Plasma Therapy (PRP). Additionally, we also provide a range of anti-aging treatments to help you achieve that ‘I feel good’ feeling.
Get in touch to find out more and book your consultation.